Decorating Eggs during Easter is a long held tradition for both children and adults. It can be a fun activity which you and your kids can carry out. There are various ways of making eggs colorful without opting for the traditional kit. You do not need to be limited to buying an egg dye kit from the local store. Using some techniques such as sponge painting or marbleizing, you’ll be able to make more elaborate designs and styles to present in the Easter basket.
There are numerous options for creating colorful Easter eggs. Some of them include hard boiling eggs and dying them; another way is leaving the eggs raw and dying them, which is a common method used for making Ukrainian or Pysanki eggs with elaborate geometric designs; another way is making holes at every end of the eggs, breaking the yolks using a pin & blowing them off the shells, this results in a hollow egg which can then be cleaned and appropriately decorated.
Here are some Easter Eggs Decorating Ideas:
Commercial Dyes
Dye blown eggs using commercial Easter eggs dyes. Use the dyes which only use cold water. The eggs might float, so it’s best you use a container that’s small, & you can weigh the eggs down using a spoon when necessary. Drain your eggs over the container 1st before you remove them from dye. Blown eggs which have been dyed with the commercial products need to be decorated some more since they may be kept for much longer.
Paint
Instead of dying your Easter eggs, you can also opt to use acrylic paint, professional water color, or tempera or finger paint. Always be careful when handling blown out eggs because they are more fragile than the raw or the hard boiled eggs.
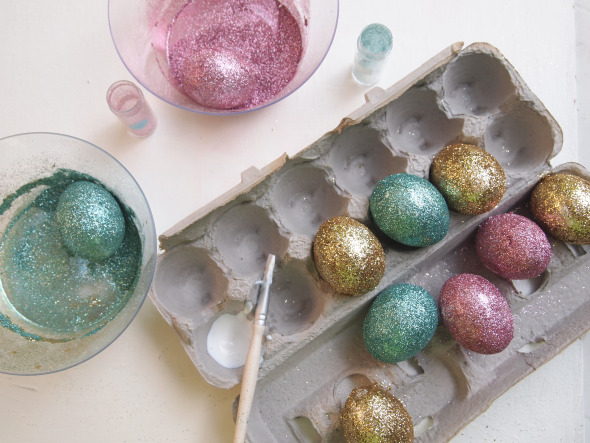
Glitter
Using your paint brush, apply some glue to one half of the egg and then sprinkle the egg with glitter. Now, wait for the egg to dry and then apply some glue to other half of your egg & sprinkle some glitter as well. This will allow for holding your egg without getting any glue and/or glitter all over your decorator. Dye or paint the eggs with one color 1st and then let it dry out to give them a richer design. Glitter may get all over the place so it’s best you use newspapers or some plastic tablecloths so as to catch any glitter that escapes.
Image: Miss Kris
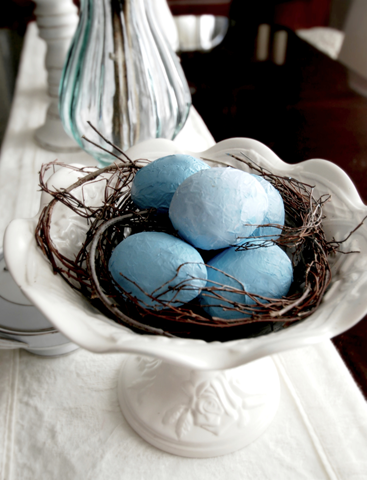
Decoupage
Paint or dye the eggs and let them dry. Cut out some small pictures from magazines and wrapping paper. Apply thin layer of glue (white) to the eggs in the areas where the pictures will be placed and then place the pictures/cut outs on the eggs and apply some more glue on the picture’s right side. Smooth any present lumps whilst painting on the white glue. Let your glue dry and then seal the eggs by brushing on varnish or applying clear polyurethane spray.
Image: Martha Stewart
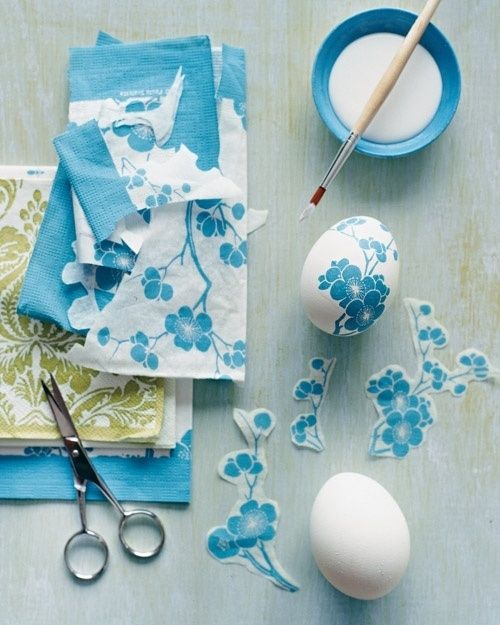
Crepe Paper or Tissue
Dip a brush in water & brush the eggs. Immediately apply some pieces of coloured crepe or tissue to the eggs and smooth them. After the water dries out, the paper/tissue will fall off, however the eggs will retain the paper’s color.
Image: Centsational Girl
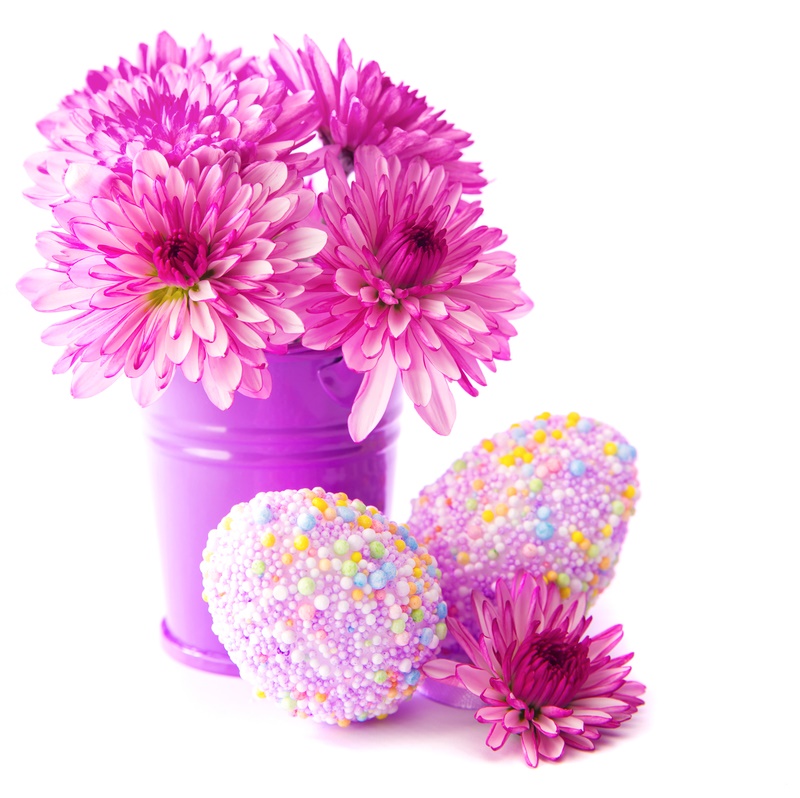
Beads
Seed beads usually come in an array of colors & they make blown Easter eggs shimmer. You can take a paint brush & then apply small dots of white glue on the eggs. Using tweezers, you can apply sequins or seed beads to every dot of the glue. You can do this on 1 half of the eggs, let them dry, and then continue with other side.
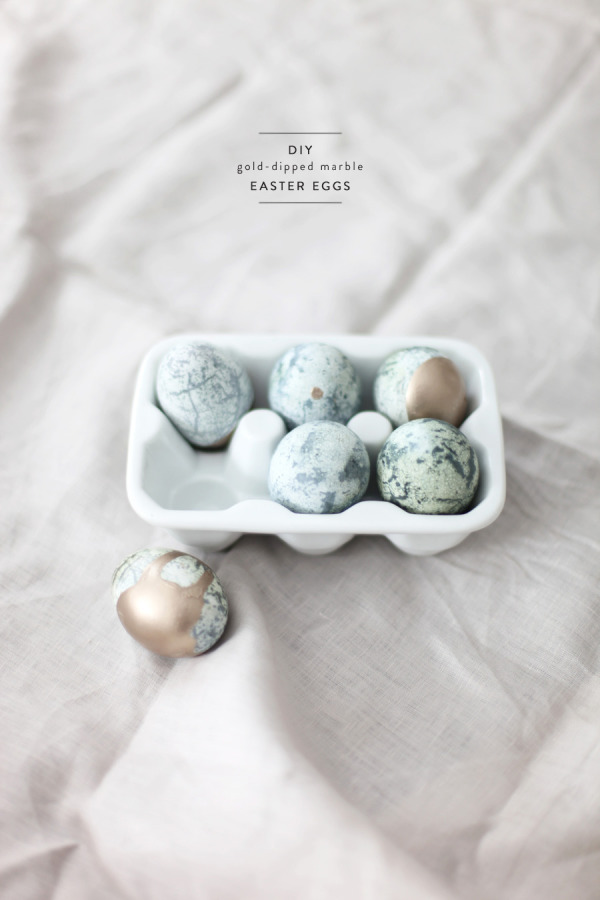
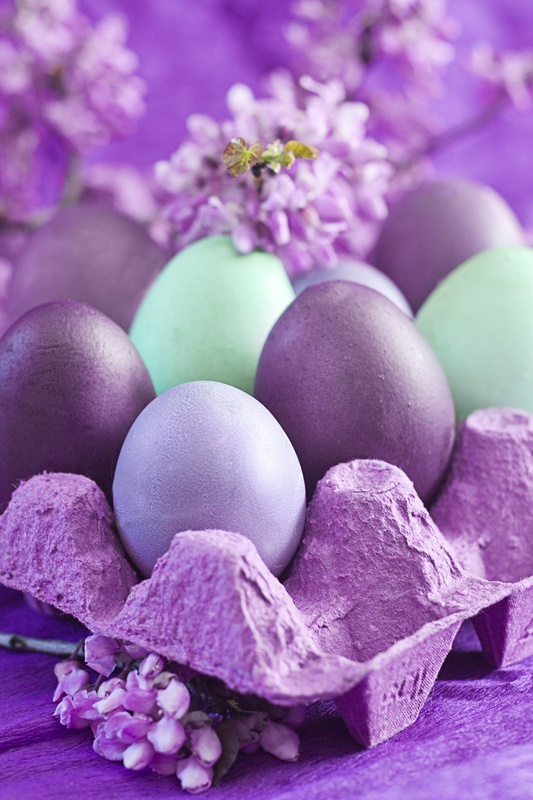
Marbled Eggs
To create a base colour for each Easter egg, add 7 to 8 drops of food colouring into 1 cup of hot/warm water. Stir in a quarter cup of vinegar and prepare 1 bowl for each colour you want to use. You can then dip the Easter eggs in the chosen colours & allow them to properly dry. Add one tablespoon of cooking oil, like canola, for every cup of dye. You can then dip a coloured egg in the contrasting colour mixture. Since the oil may spread all through the mixture instead of blending with the dye, it’ll prevent your dye from properly adhering in certain places thus creating the marbleized effect.
Image: Style Me Pretty

Sponge Painted Eggs
Wet a sponge & wring out the water. Cut it into some small pieces so there’s 1 sponge piece for every paint color. Add some craft paint to a paper plate, to keep the colors separate. You can then dip the sponge in 1 color of paint & press it for a few times in a paper towel so as to remove the excess paint. You can then dab the sponge all around the eggs; add some other colors using different pieces of the sponge if desired. You should allow the eggs to completely dry before handling.

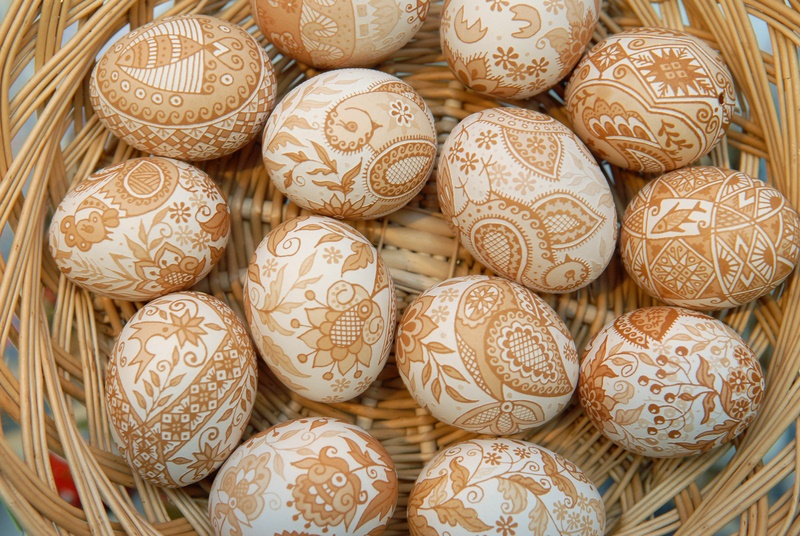
Crayon Waxed Eggs
You can prepare to decorate Easter eggs using crayons whilst the eggs are warm after boiling. You can use a paper towel when holding the warm egg and then color it with crayons. Make designs, write words or draw shapes. Lift the eggs from your paper towel whenever you turn them so that you don’t smudge the drawing. Allow all the decorated Easter eggs to cool off for about 1/2 an hour before you handle them. This allows the wax firmly set in.
Image: Jenna Burger
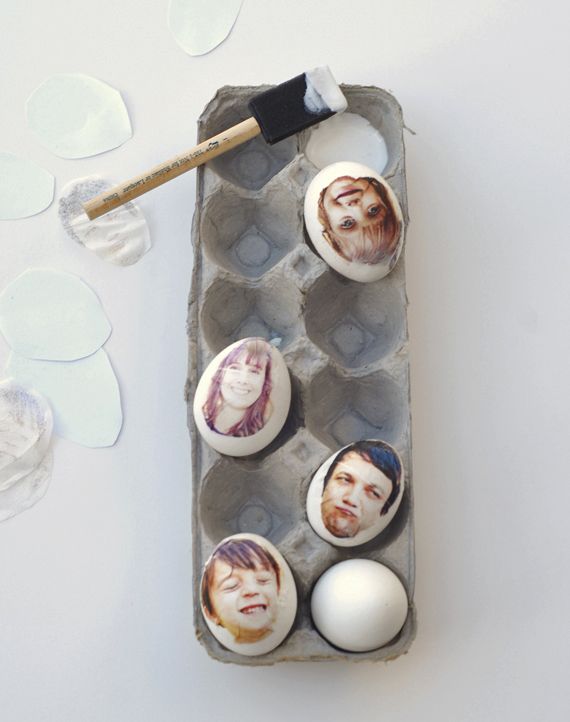
Easter eggs with your favorite photos on them
Create a lasting memory this spring by adhering your beloved family photos onto Easter eggs. It is the kind of project that will make you smile to think of, and absolutely giddy to see completed.
Discover more from Decoholic
Subscribe to get the latest posts sent to your email.