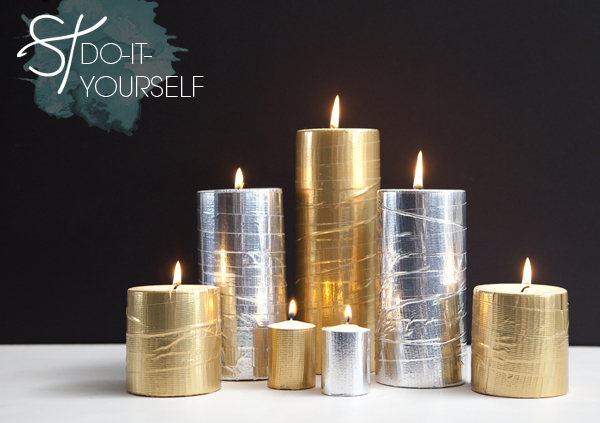
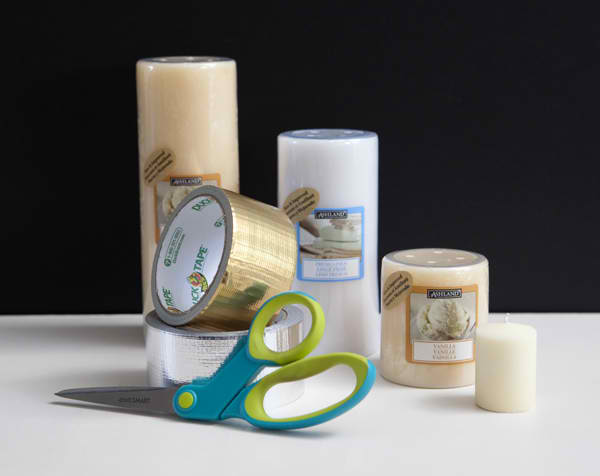
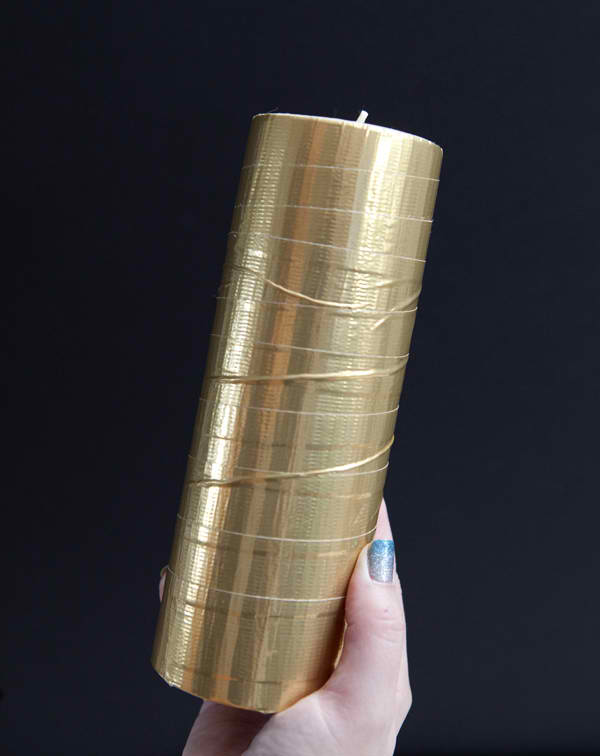
I just found this fabulous DIY project on Something Turquoise. DIY glam metallic candles by Duck Tape so quick and easy!
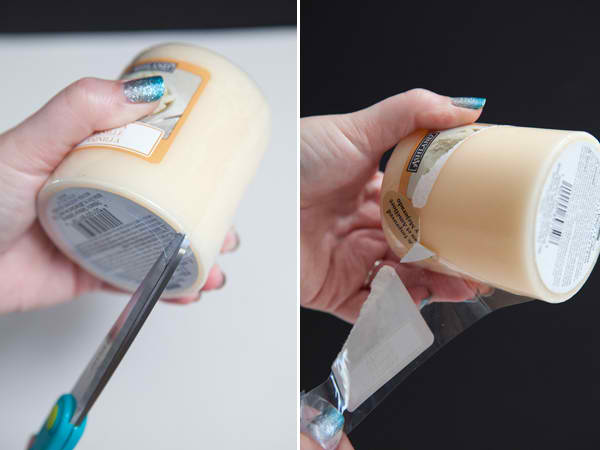
Start by removing all the outer plastic from your candles, we want to tape onto the bare candle.
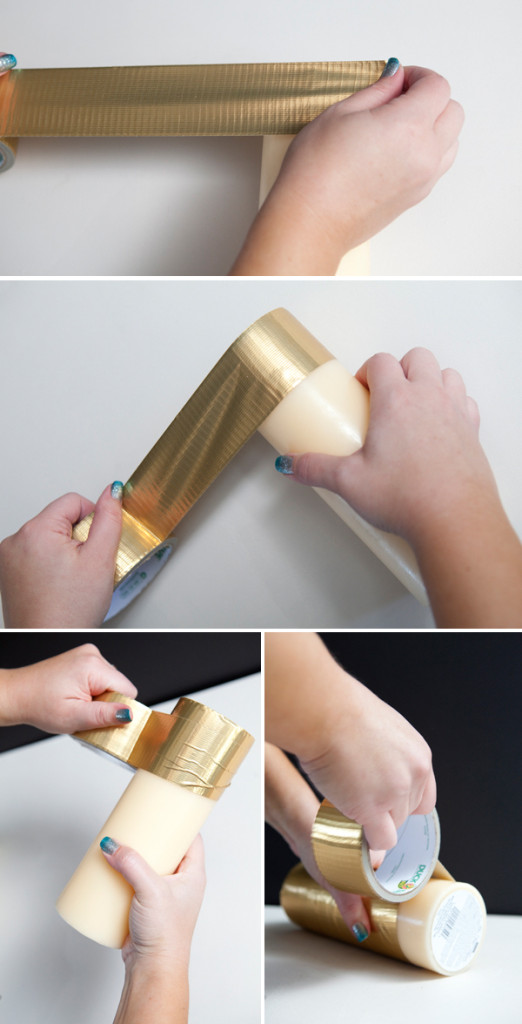
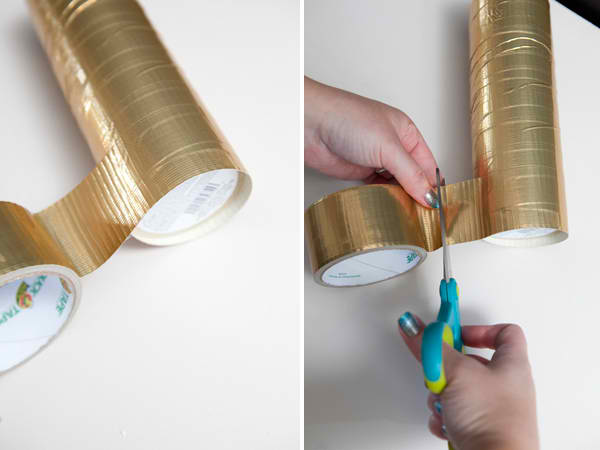
Lay your candle on a flat surface, rip your Duck Tape from it’s roll and start at the top. Line the tape up perfectly at the top of the candle – pull, roll and press! Pull, roll and press! To get the tape to wrap around your candle, you will need to pull it slightly downward. I love the crinkles and the imperfections that the tape develops on its way down the candle!
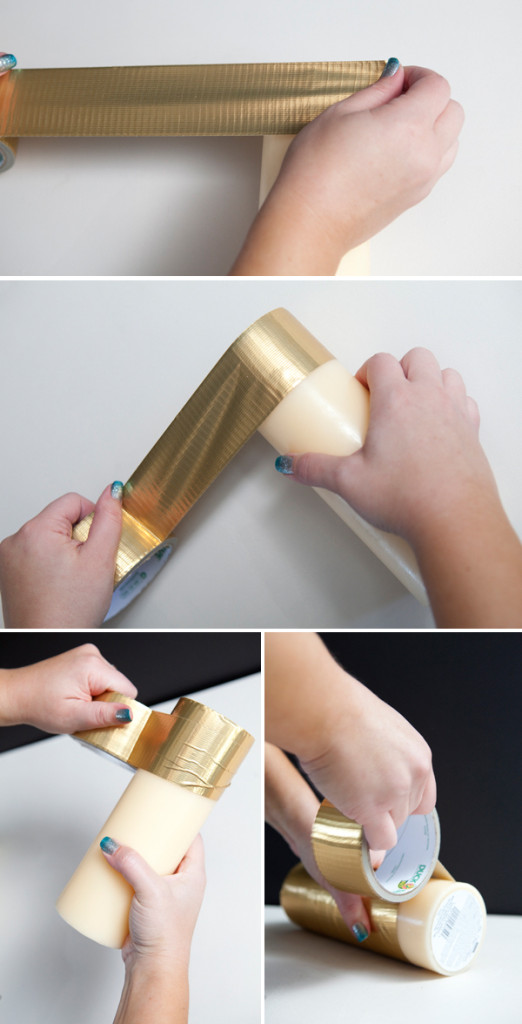 When you reach the bottom of your candle, make sure there is a bit of excess tape to hang off the edge. Cut the tape. This might be difficult if your scissors are dull… and we are cutting Duck Tape here – so do the best you can.
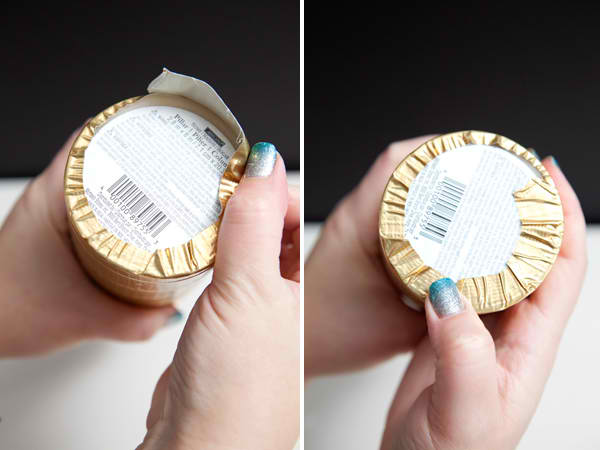
Like wrapping a present, fold the edges of the tape inward to slightly cover the base.
If you burn these for the first time at an event (like a wedding!) that lasts four hours or so, the tape will be perfectly fine with the flame. If you are re-lighting or burning these repeatedly – make sure you trim off exposed layers of tape!!! When your candle has burned about an inch and a half from the top, once it has cooled – take your scissors and cut around the top of the candle to remove the excess tape! You don’t want the tape to light on fire! Once this has been done your special Duck Tape candles will look brand new, and they will be safe too!

