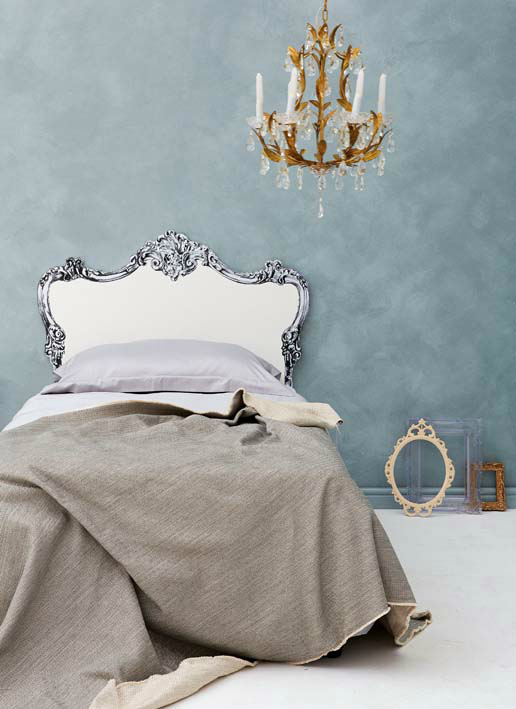
If you need to add some color and beauty to your bedroom, you should consider creating a beautiful headboard. A headboard is not difficult to make. So you can take this up as a do-it-yourself project. Here is a simple outline of the steps required to create an attractive headboard for your bed.
Before you begin, get these tools and materials:
• headboard template
• edge decoration
• 16mm SupaWood
• universal undercoat
• enamel paint in the colour of your choice
• paint rollers and brushes
• paint trays
• drop sheets
• modge podge and varnish
• masking tape
• craft knife
• scissors
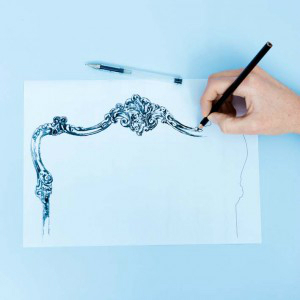
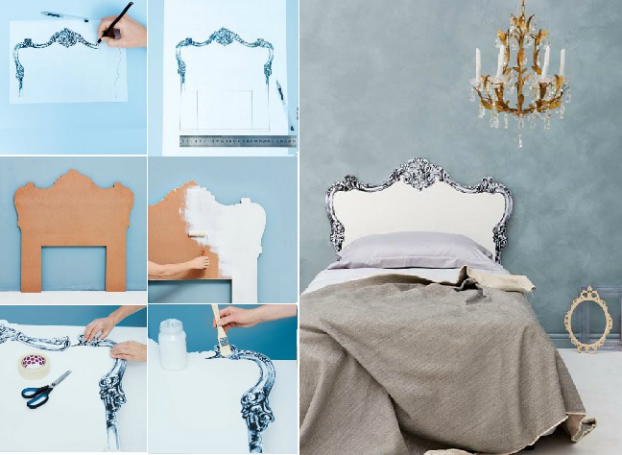
1. Take measurements of your bed. Sketch the edge decoration of the headboard to scale on drawing paper (if you intend to use a design that is different from this). If you have a three-quarter bed, you can use our headboard template.
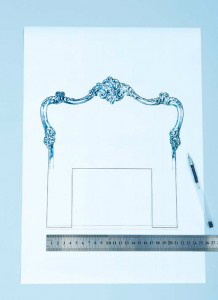
2. Use the measurement of your bed to modify the template. Scale it up or down as required. Convert your border decoration into a digital format.
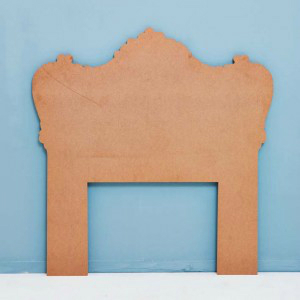
3. Take your 16mm SupaWood and the digital headboard design to a routing specialist for cutting. Before you leave, ensure that all the measurements of the SupaWood headboard pattern match the dimensions of your bed.
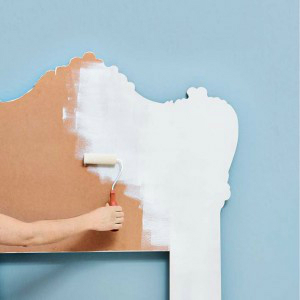
4. Paint the headboard with universal undercoat. Allow it to dry completely and then apply a coat of enamel paint. After it has dried up thoroughly, apply a second coat.
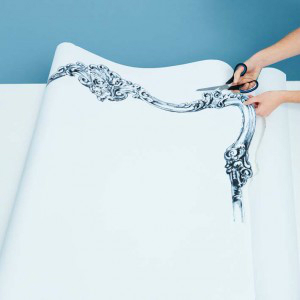
5. Take the edge decoration in digital format for high-resolution scanning. Print it exact size out on paper. Make sure that the edge decoration fits the headboard perfectly. Then cut the decoration out neatly.
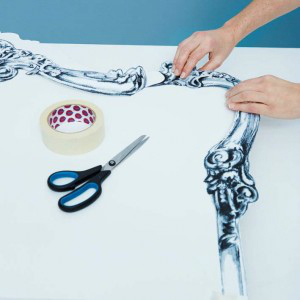
6. Place the edge decoration unto the headboard. Use masking tape to tack it in position loosely. To make it easier to work with, you can cut the paper into a number of panels. This will prevent it from folding up while you are working with it.
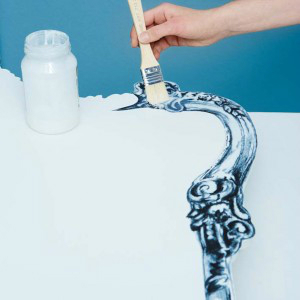
7. Apply a layer of modge podge on the first part of the headboard where you want to place the edge decoration panel. Place the edge decoration panel on the modge podge and then apply a second layer of modge podge on the paper. Repeat this procedure for other paper panels and allow them to dry thoroughly. Finally, use a craft knife to trim of the edges and seal them up with varnish.
Those are the basic steps required to create a beautiful headboard. Do you have any comments about this procedure? Or do you think there’s a better way to create a headboard? Please share your ideas in your comments. Thanks.
Via ideas mag
Discover more from Decoholic
Subscribe to get the latest posts sent to your email.