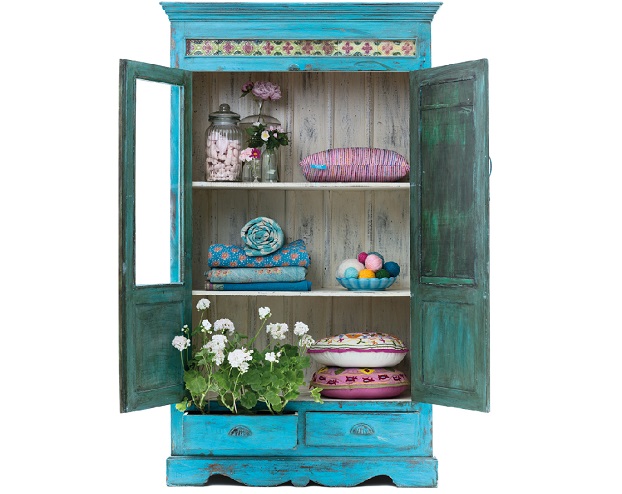
Sometimes, the best way to liven up your furniture is to make it look a bit older. Many homeowners are now mixing distressed furniture with modern styles for unique styles. Distressing furniture involves adding an old age look to a furniture piece. Before throwing away your old bedroom or dining room sets, reconsider by refinishing it. It can be very costly to buy distressed furniture, so why not create it yourself with a little imagination? The following is a step by step guide that will make a distressed piece look like an expensive antique.
Sand: Lightly sand the furniture you want to distress. If the furniture has a finish already (painted or vanished before), sand all the surfaces. Use a medium or fine grit sandpaper for this purpose, and wipe the piece with a cloth.
Rough-up surface: Use a hammer, chain or a screw driver for roughing up the surface of your furniture. The more you roughen up, the more aged the piece will appear.
Prime: Use a quality white primer to give your piece a thin coat, and after it has dried, follow up with some light sanding.
Apply base coat: It is important that you choose a base coat that complements the room. White or off whites are neutral colors that you can go with.
Glaze coat (optional): After the furniture has dried thoroughly, apply glaze over the whole piece. While this is an optional step, it is highly recommended. The glaze, usually brown or grey, highlights the roughed-up areas when it is applied and brings out the details of the furniture.
Seal coat: After the glaze coat is dry, apply a sealer or water-based poly finish with a sponge brush. Apply the polyurethane coats as recommended by the manufacturer and do not forget to sand between the coats. This is very important in protecting all your hard work.
Once you complete this step, step back and enjoy your new antiqued furniture. The results will amaze you, and how quickly and easy you have transformed your room’s look.
What you will need
-The piece to distress
-Fine sandpaper
-Tack cloth
-Quality Primer
-Goggles for safety
-Tools- nails, hammer, chisel, ice pick, toothbrush
-Painting tools
-Polyurethane (optional) for finish
Important tips
-It is highly recommended that you clean the piece after every step with a tack cloth
-If you do not have a brush, you can use an old lint-free rag to add stain
-There is a difference between destroying and distressing. Use a light hand with the tools, particularly the hammer.
Discover more from Decoholic
Subscribe to get the latest posts sent to your email.